
TLS at Home with Cert-Manager, CloudFlare, and GatewayAPI
Improve your client-side experience with TLS on a home cluster. Even if your cluster isn't directly exposed to the internet, having certificates that are automatically accepted by clients is nice to have. You can find deals on domain names for less than $15 a year, just pay attention to that renewal price. A very cheap domain can renew the next year for multiple x's the introductory price.
I purchased my domain on hover.com, but hover does not provide an API to update dns records. This would be fine if I didn’t want certificates to renew automatically, I could satisfy the DNS challenge manually. I could also set up something like acmedns or use an http challenge, but I would have to open up a port to my home network and I want to avoid that. Since cert-manager supports CloudFlare as a DNS solver, I will just create a free account and update my nameservers for my domain. After that change cert-manager will be able to use CloudFlare’s API to create challenge entries and I don’t have to pay for a domain transfer. Next time I’ll just buy the domain through CloudFlare.
To follow along you'll want,
- A domain name. I recommend getting one from CloudFlare.
- A CloudFlare account, free accounts are fine.
- A Cluster configured with gatewayAPI
I'm going to Create certificates 3 different ways so that I am testing my configuration along the way. Requesting certificates from LetsEncrypt is rate limited and I want to make sure everything is correct before I generate production certs. I'll start with a self-signed cert, which you can actually use, but would have to be accepted manually by clients. Not what I want in this case.
Install Cert-Manager
kubectl apply -f https://github.com/cert-manager/cert-manager/releases/download/v1.21.1/cert-manager.yaml
Self-Signed
Create a ClusterIssuer that can be used to create certificates. There is also an Issuer resource that could be used for namespacing.
# clusterissuer-selfsigned.yaml
apiVersion: cert-manager.io/v1
kind: ClusterIssuer
metadata:
  name: selfsigned
spec:
  selfSigned: {}
Create a Certificate resource
# certificate.yaml
apiVersion: cert-manager.io/v1
kind: Certificate
metadata:
  name: grafana-hget-top
  namespace: default
spec:
  secretName: grafana-hget-top-tls
  privateKey:
    rotationPolicy: Always
  commonName: grafana.hget.top
  dnsNames:
    - grafana.hget.top
  usages:
    - digital signature
    - key encipherment
    - server auth
  issuerRef:
    name: selfsigned
    kind: ClusterIssuer
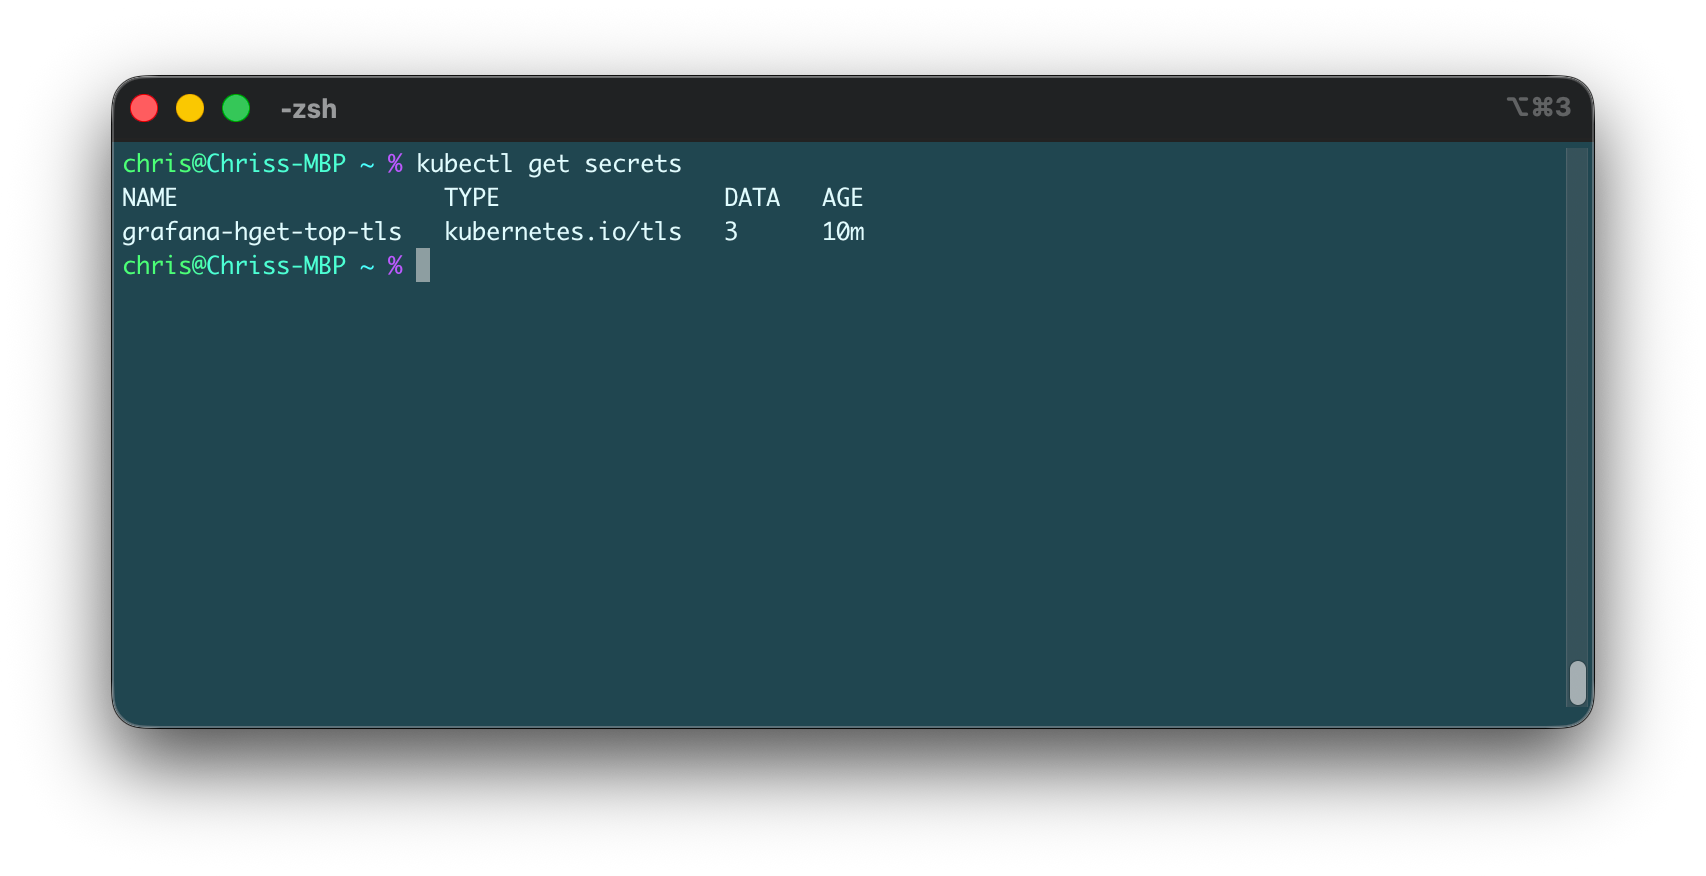
After success cert-manager will create a new secret with the name specified in spec.secretName. This confirms that cert-manager is working.
Modify the Gateway to use TLS and reference our new secret.
apiVersion: gateway.networking.k8s.io/v1
kind: Gateway
metadata:
  name: home-gateway
  namespace: default
spec:
  gatewayClassName: cilium
  listeners:
  - name: https-grafana
    hostname: "grafana.hget.top"
    protocol: HTTPS
    port: 443
    tls:
      certificateRefs:
      - kind: Secret
        name: grafana-hget-top-tls
    allowedRoutes:
      namespaces:
        from: Selector
        selector:
          matchLabels:
            kubernetes.io/metadata.name: grafana
---
apiVersion: gateway.networking.k8s.io/v1
kind: HTTPRoute
metadata:
  name: grafana
  namespace: grafana
spec:
  parentRefs:
    - name: home-gateway
      namespace: default
  hostnames:
    - "grafana.hget.top"
  rules:
    - backendRefs:
      - name: grafana
        port: 3000
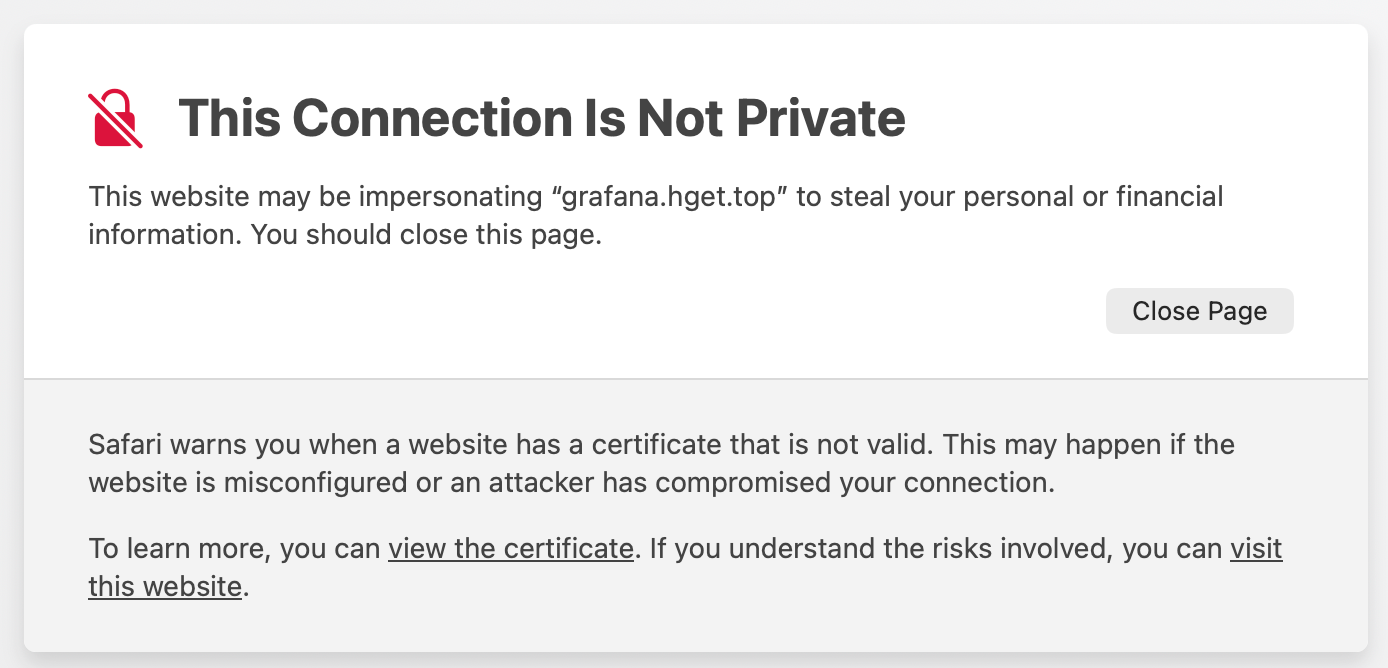
This should allow access to Grafana with https, but browsers will complain about the certificate.
With LetsEncrypt
If your domain registrar is not CloudFlare, create a free CloudFlare account and follow the steps to update your nameservers for your domain. Once your domain name is set up in CloudFlare you can create an API Token.
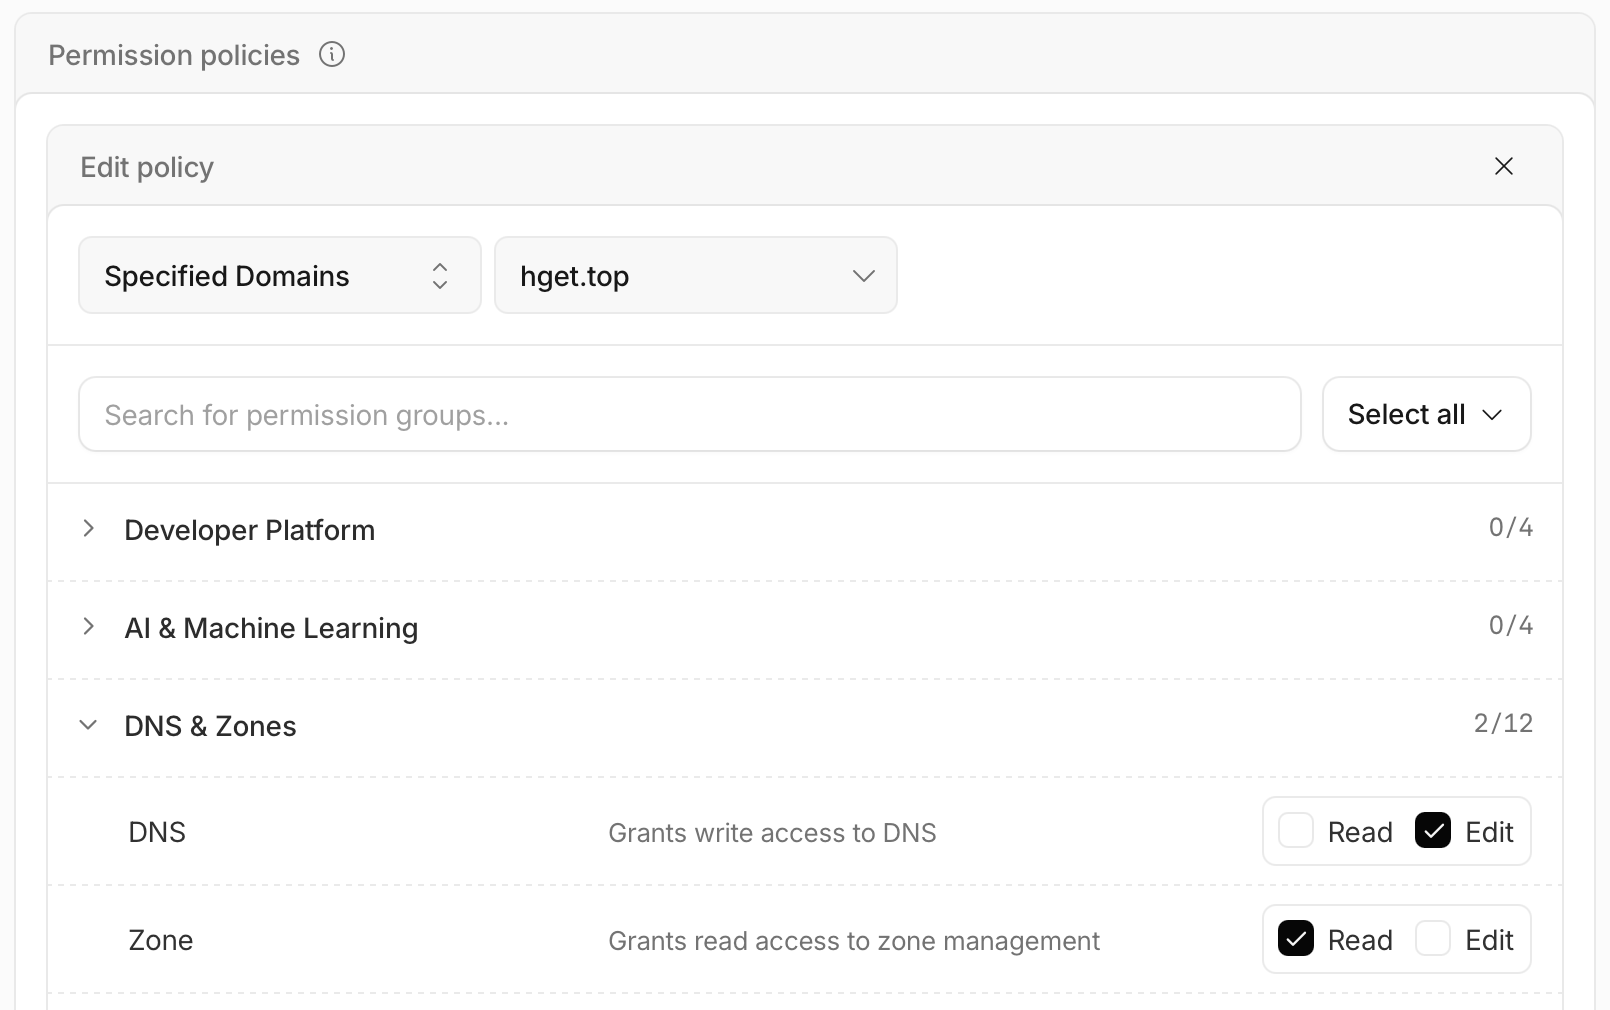
In the CloudFlare dashboard go to Manage Account > Account API Tokens > Create Token. Select your domain and set your permissions as
DNS & Zone > DNS = Edit
DNS & Zones > Zone = Read
When you create the token, you will only get one chance to view it, so record this value into your password manager for later.
Put the token in a secret so that it can be referenced by the Issuer.
apiVersion: v1
kind: Secret
metadata:
  name: cloudflare-api-token-secret
  namespace: cert-manager
type: Opaque
stringData:
  api-token: <cloudflare api token>
Create an issuer that references the secret and enter your email into the email field. The server is currently set to LetsEncrypt's staging url so we can test our configuration.
# clusterIssuer.yaml
apiVersion: cert-manager.io/v1
kind: ClusterIssuer
metadata:
  name: letsencrypt-cloudflare-issuer-s
spec:
  acme:
    email: <your email>
    profile: tlsserver
    server: https://acme-staging-v02.api.letsencrypt.org/directory
    privateKeySecretRef:
      name: letsencrypt-cloudflare-issuer-account-key-s
    solvers:
    - dns01:
        cloudflare:
          apiTokenSecretRef:
            name: cloudflare-api-token-secret
            key: api-token
Create a new certificate referencing the new issuer.
# certificate.yaml
apiVersion: cert-manager.io/v1
kind: Certificate
metadata:
  name: grafana-hget-top
  namespace: default
spec:
  secretName: grafana-hget-top-tls
  privateKey:
    rotationPolicy: Always
  commonName: grafana.hget.top
  dnsNames:
    - grafana.hget.top
  usages:
    - digital signature
    - key encipherment
    - server auth
  issuerRef:
    name: letsencrypt-cloudflare-issuer-s
    kind: ClusterIssuer
Check your certificate status, it may take a moment for it’s ready state to get to True. If it seems stuck, check your Orders and Challenges for errors.
kubectl describe order
kubectl describe challenges
Once the certificate is generated into the “grafana-hget-top-tls” secret, the setup is verified and we can create a new ClusterIssuer using the LetsEncrypt production url.
Remove the test resources.
kubectl delete certificate grafana-hget-top
kubectl delete clusterIssuer letsencrypt-cloudflare-issuer-s
kubectl delete secret grafana-hget-top-tls
With LetsEncrypt Production URL
If everything worked with the LetEncrypt staging url, move on to the production URL and generate your final certificate.
# clusterIssuer.yaml
apiVersion: cert-manager.io/v1
kind: ClusterIssuer
metadata:
  name: letsencrypt-cloudflare-issuer
spec:
  acme:
    email: <your email>
    profile: tlsserver
    server: https://acme-v02.api.letsencrypt.org/directory
    privateKeySecretRef:
      name: letsencrypt-cloudflare-issuer-account-key
    solvers:
    - dns01:
        cloudflare:
          apiTokenSecretRef:
            name: cloudflare-api-token-secret
            key: api-token
# certificate.yaml
apiVersion: cert-manager.io/v1
kind: Certificate
metadata:
  name: grafana-hget-top
  namespace: default
spec:
  secretName: grafana-hget-top-tls
  privateKey:
    rotationPolicy: Always
  commonName: grafana.hget.top
  dnsNames:
    - grafana.hget.top
  usages:
    - digital signature
    - key encipherment
    - server auth
  issuerRef:
    name: letsencrypt-cloudflare-issuer
    kind: ClusterIssuer
Check your certificate status, it may take a moment for it’s ready state to get to True. If it seems stuck, check your Orders and Challenges for errors.
kubectl describe order
kubectl describe challenges
If you want to add more services under other subdomain names create a new certificate specifying a new secret name, commonName, and dnsName.