
Mac Mini Node
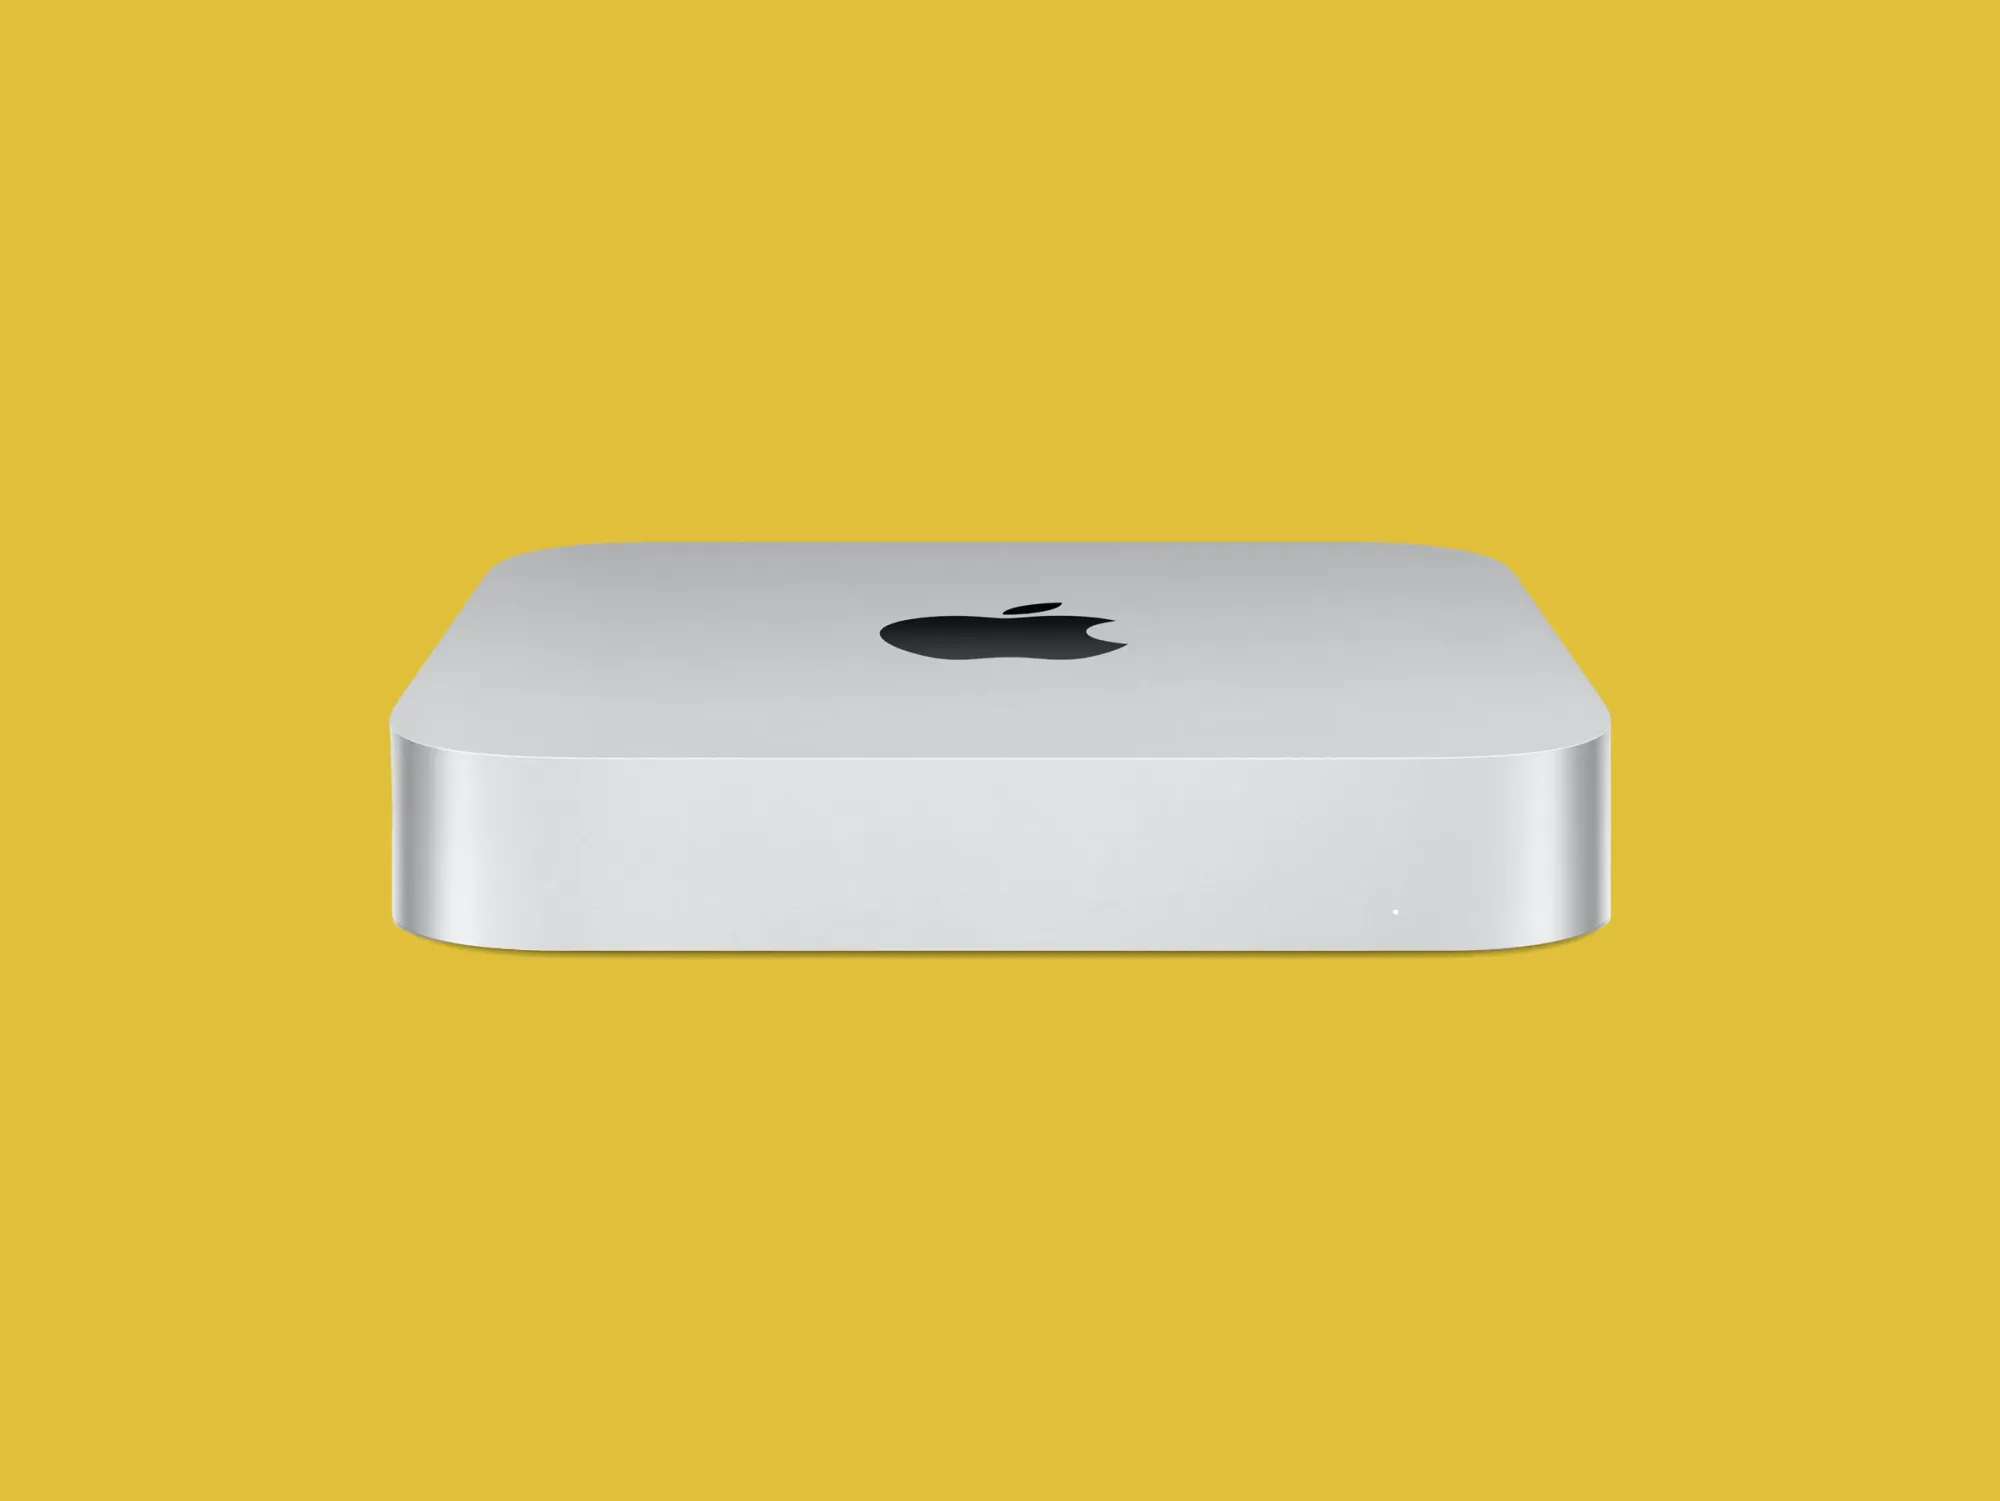
While going over the content for the CKA I wasn't satisfied with just learning on something like minikube. I really wanted to get in there and see what it took to put something together a little more permanent, something I could use to run actual workloads. I have had this 2012 Mac Mini for years and repurposed it for various server tasks, but lately it has been a Home Assistant server.
Once I had the objective to run Home Assistant on a cluster, I gathered up all my old laptops and ended up with 3 decent machines to get started. Home Assistant doesn't take much to run and the Mac Mini is OK on power consumption (~15W).
Specs
2012 Mac Mini
Intel(R)Core(TM) i5-2415M CPU @ 2.30GHz (2Core,4Threads)
16GB RAM
Broadcom BCM4331 Wifi/Bluetooth adapter
Install Ubuntu & Prepare for the Cluster
Download the Ubuntu 26.04 image and write it to a usb drive with Balena Etcher. These are steps to prepare a node that will be joining my cluster that uses cilium as a CNI and gateway. For a different CNI the install can change slightly.
Apply Kernel Network Settings
cat <<EOF | sudo tee /etc/sysctl.d/k8s.conf
net.bridge.bridge-nf-call-iptables  = 1
net.bridge.bridge-nf-call-ip6tables = 1
net.ipv4.ip_forward = 1
EOF

# Apply
sudo sysctl --system
Disable Swap
sudo swapoff -a

# swapoff won't survive a restart so apply a permanent fix.
# Look for a swap line(look near the last line) and delete any that you see.
sudo vi /etc/fstab/

sudo systemctl daemon-reload
Install the Container Runtime
You can install from source using the directions here, but the apt install is much faster.
sudo apt-get update
sudo apt install containerd
Enable the file system overlay module
sudo modprobe overlayCreate the default config file, then edit it so that runc will use the systemd cgroup driver.
sudo mkdir /etc/containerd
containerd config default | sudo tee /etc/containerd/config.toml

# Search the file for
# "plugins.'io.containerd.cri.v1.runtime'.containerd.runtimes.runc.options"
# and look for the "SystemdCgroup = false" setting and change
# it to "SystemdCgroup = true"

vi /etc/containerd/config.toml

# Restart containerd
systemctl restart containerd
Install Kubernetes components
# Configure apt for the kubernetes repo
sudo apt-get update
sudo apt-get install -y apt-transport-https ca-certificates curl gpg

curl -fsSL https://pkgs.k8s.io/core:/stable:/v1.36/deb/Release.key | sudo gpg --dearmor -o /etc/apt/keyrings/kubernetes-apt-keyring.gpg

echo 'deb [signed-by=/etc/apt/keyrings/kubernetes-apt-keyring.gpg] https://pkgs.k8s.io/core:/stable:/v1.36/deb/ /' | sudo tee /etc/apt/sources.list.d/kubernetes.list

# Update with the new repo
sudo apt-get update

sudo apt-get install -y kubelet kubeadm
sudo apt-mark hold kubelet kubeadm

sudo systemctl enable --now kubelet
Join the Cluster
Paste the join command from kubeadm when you initialized your control plane.
sudo kubeadm join <control-plane-host>:<control-plane-port> \
    --token <token> \
    --discovery-token-ca-cert-hash sha256:<hash>
Good to Go?
These are quick steps to get this node up, but there is more configuration needed for how I would like this machine to function. I will write this up in another post so that this one can stay focused on Kubernetes.